3d
Blender is cool
I’ve been learning a lot about Blender, and it’s pretty powerful, for the cost anyway! I found out how to render a cool glass shader, and that was pretty much all I needed for a while.

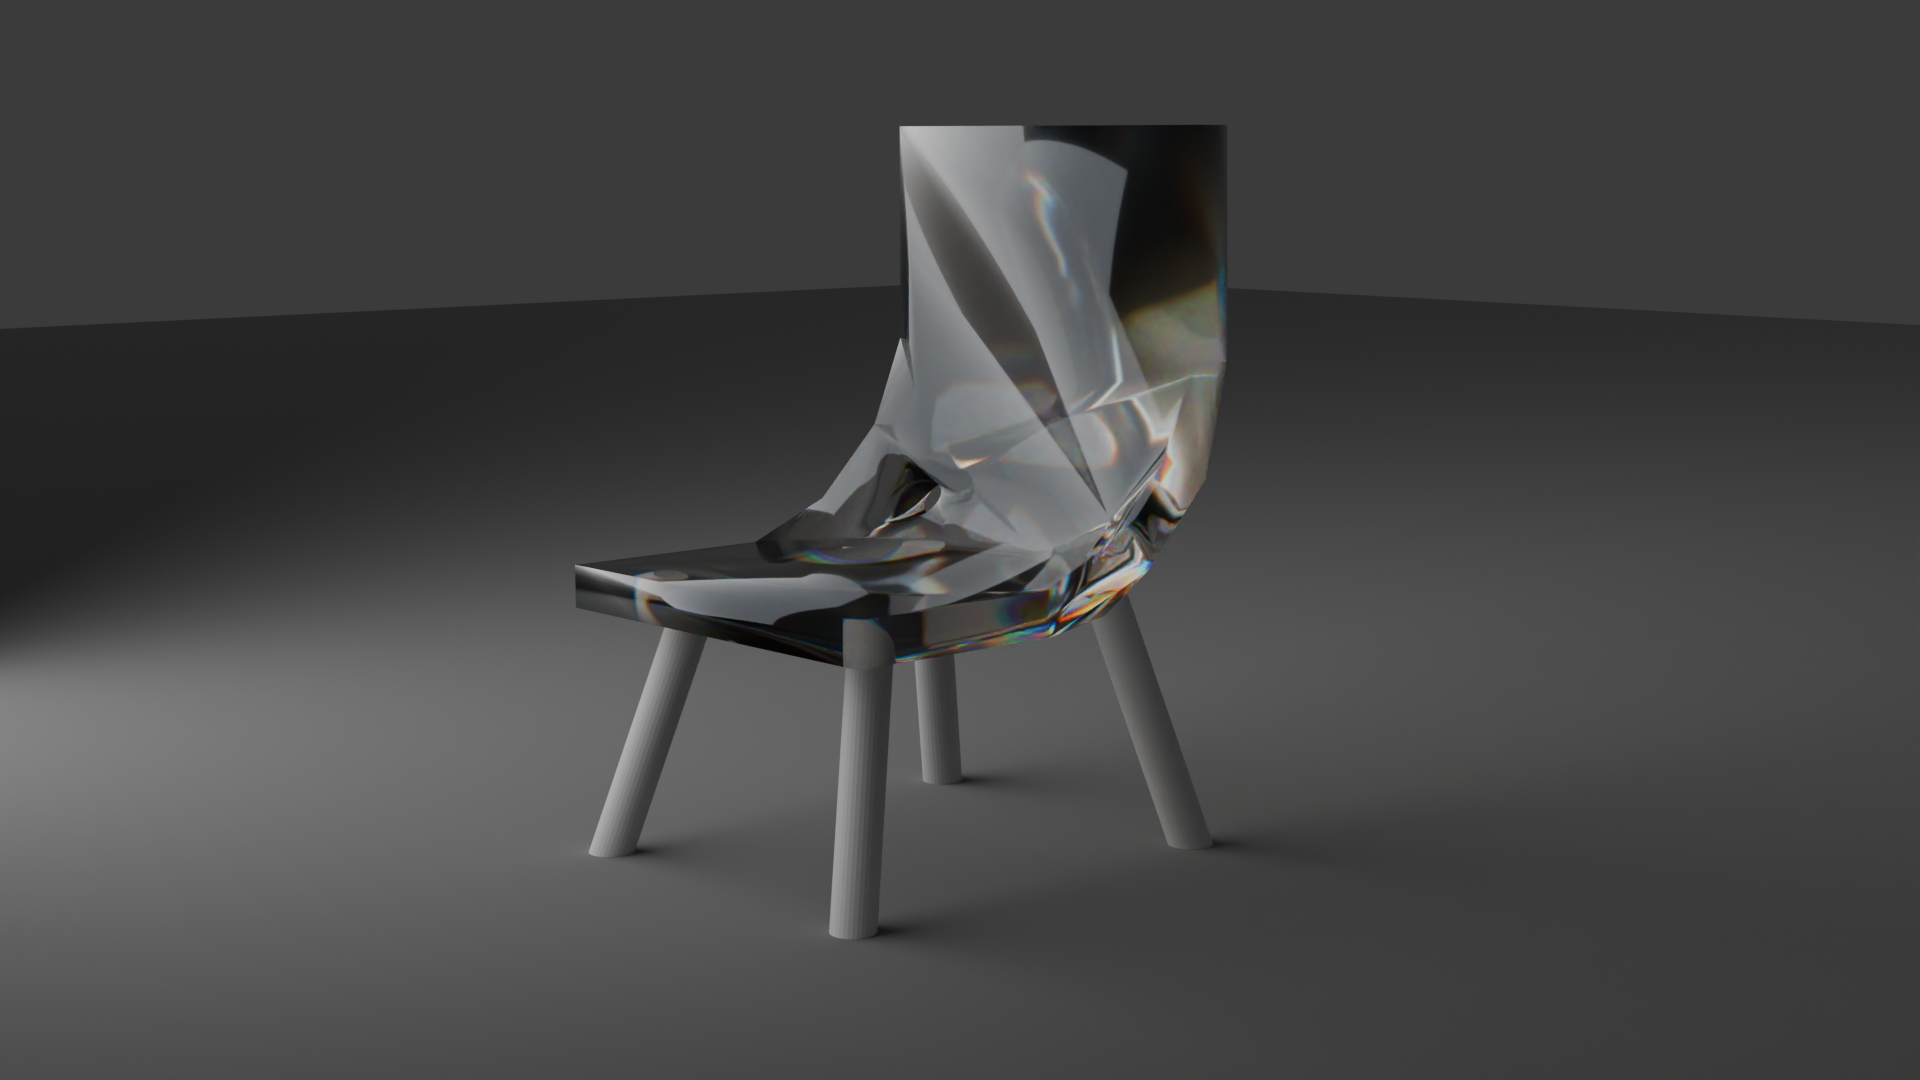
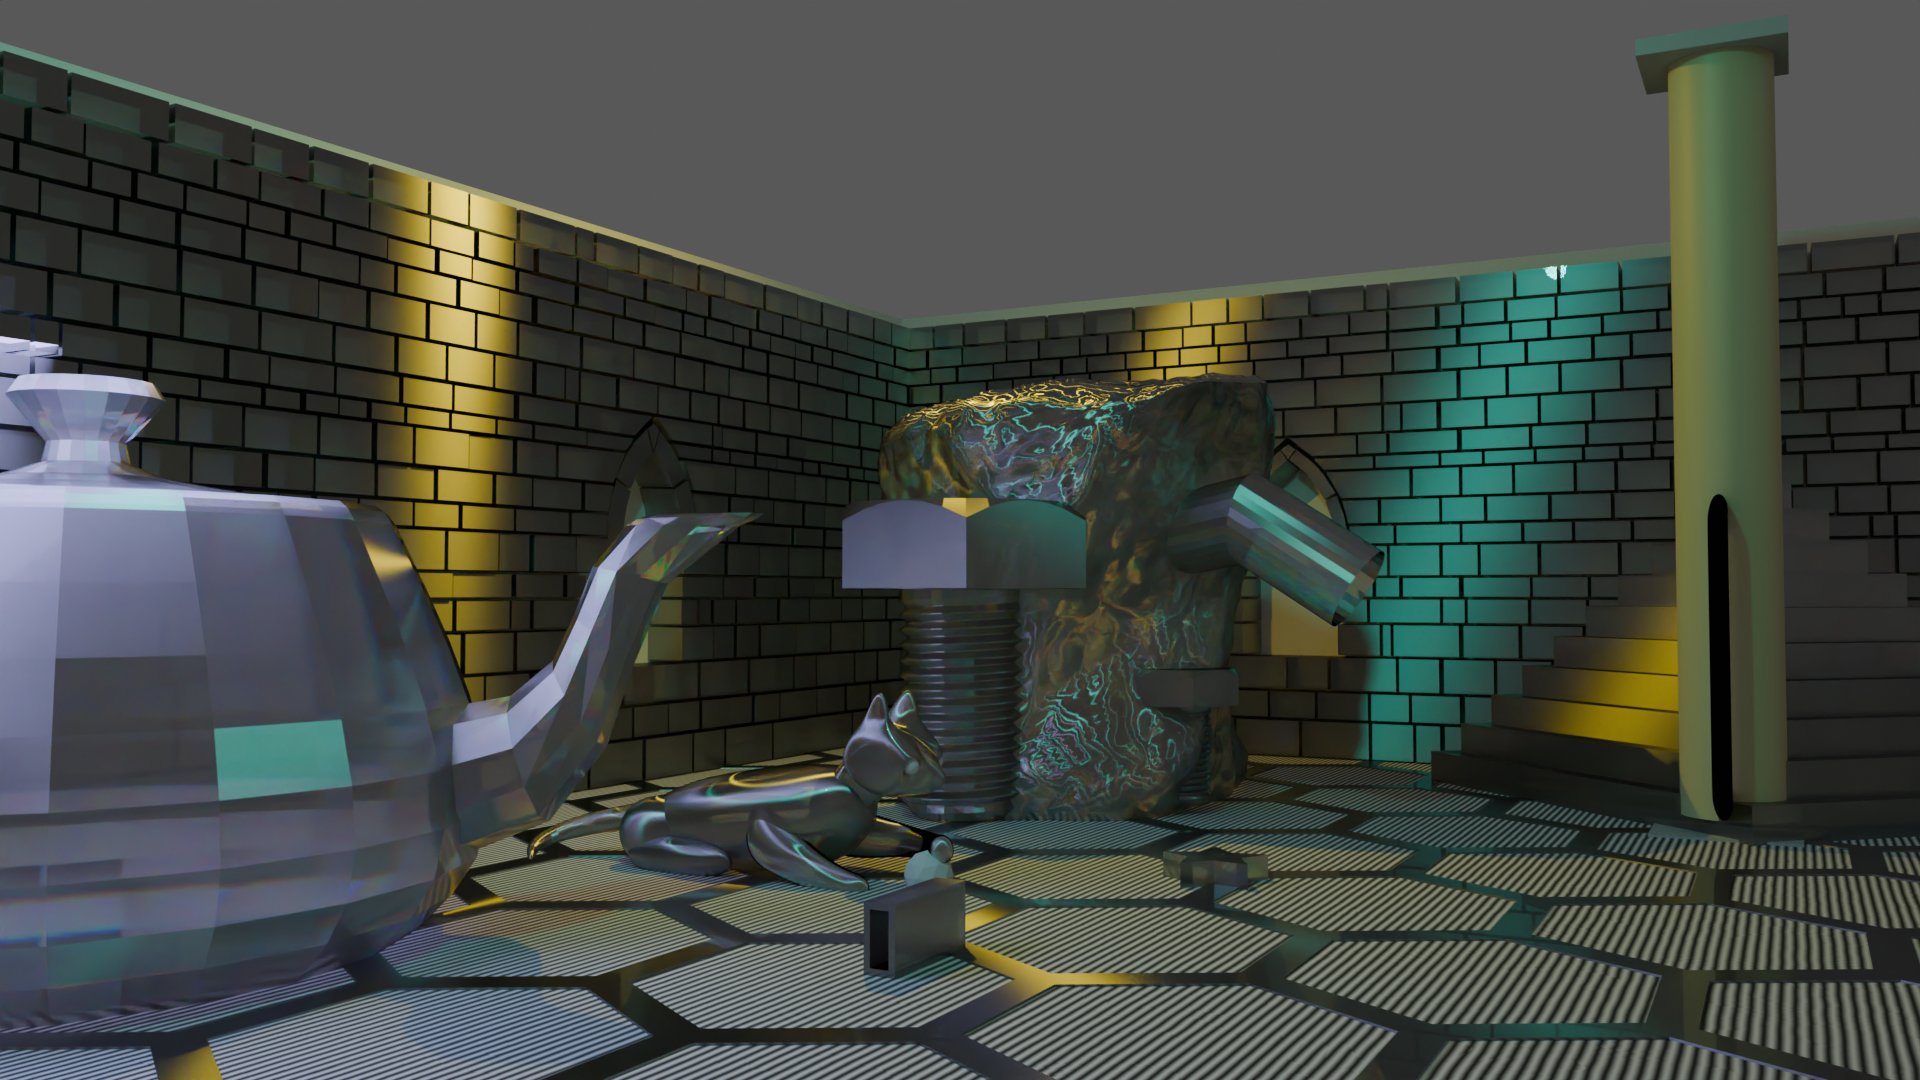
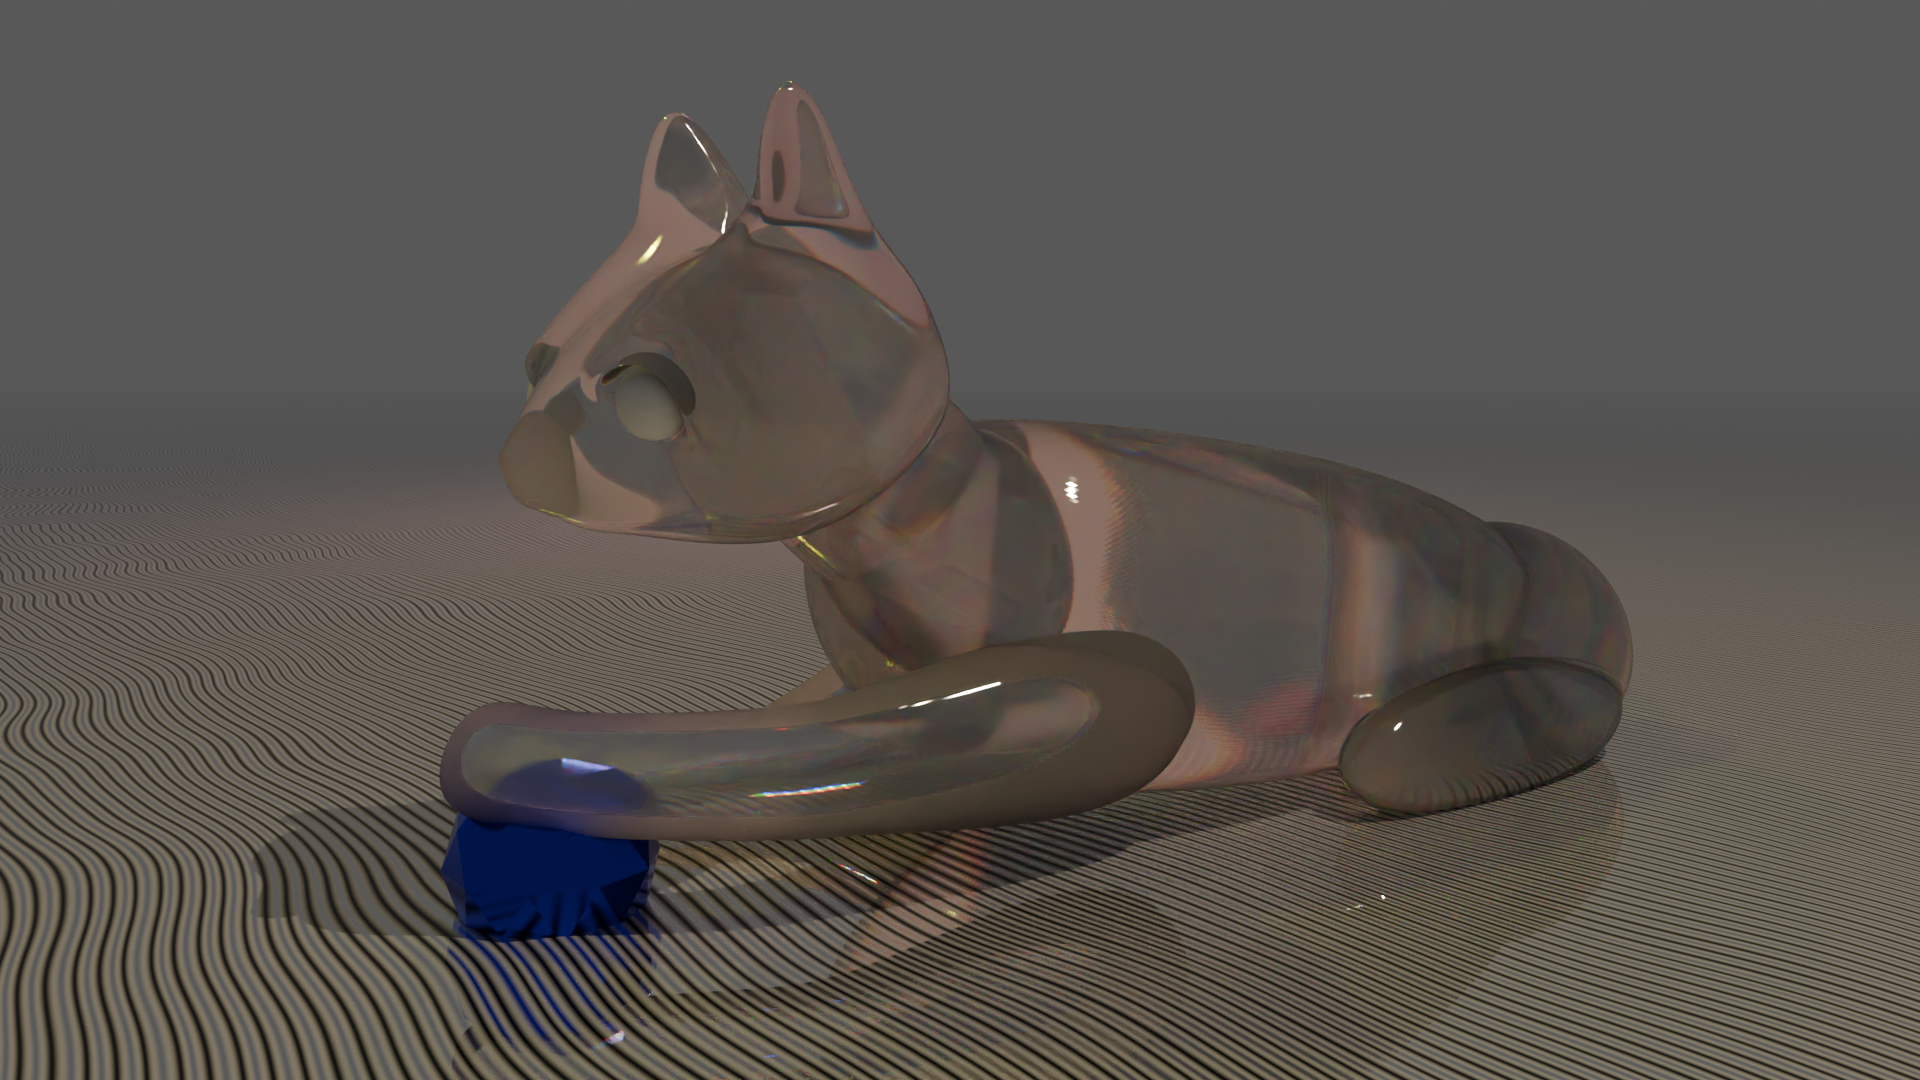
I made a little video of 500 frames, and it took two days to render, haha.
Then I checked out the grease pencil feature, and the 2d animation suite, and it’s also pretty interesting! I tried a few animations out, to try out the new things I learned along the way.


3dpixelcam processing 3d pixels from live video
this isn’t even full size!
Many years ago, I wrote a processing sketch to take live video and generate a 3d pixel grid, varying the height of each 3d box based on the brightness of the video pixel it was sampling. And it was good. Times have changed, and so has processing. Now it’s easier to do what I was doing then in regards to accessing the video input and controlling the 3d camera in the sketch. There aren’t as many bells and whistles on this version as the original, but hey, it works today.
As such, you will need JMyron and Peasycam to run this sketch.
/*
* 3dPixelcam
* steve cooley
* http://beatseqr.com
* license for use: creative commons non-commercial attribution share-alike
* Do Not Omit This Information From Whatever You Make With It. Thanks! -steve
*/
import processing.opengl.*;
import peasy.*;
import JMyron.*;
PeasyCam cam; // a virtual, 3d camera control
JMyron m;//a physical, actual camera object
int resolution = 20;
void setup(){
size(640,480, OPENGL);
cam = new PeasyCam(this, 320.0, 240.0, 100.0, 500);
cam.setMinimumDistance(50);
cam.setMaximumDistance(2000);
m = new JMyron();//make a new instance of the object
m.start(width,height);//start a capture at 320×240
m.findGlobs(0);//disable the intelligence to speed up frame rate
println("Myron" + m.version());
rectMode(CENTER);
noStroke();
}
void draw(){
background(255);
lights();
m.update();//update the camera view
int[] img = m.image(); //get the normal image of the camera
float r,g,b;
for(int y=0;y<height;y+=resolution){ //loop through all the pixels
 for(int x=0;x<width;x+=resolution){ //loop through all the pixels
float av = (red(img[y*width+x])+green(img[y*width+x])+blue(img[y*width+x]))/3.0;
fill(red(img[y*width+x]),green(img[y*width+x]),blue(img[y*width+x]));
pushMatrix();
translate(x,y);
//ellipse(0,0,(255-av)/8.0,(255-av)/8.0);
box(resolution,resolution,(av));
popMatrix();
}
}
}
void keyPressed(){
// m.settings();//click the window to get the settings
resolution -= 2;
if(resolution <=1)
{
resolution = 40;
}
}
public void stop(){
m.stop();//stop the object
super.stop();
}
2013-03-12 Updated to fix wp code manglation
The accident of birth
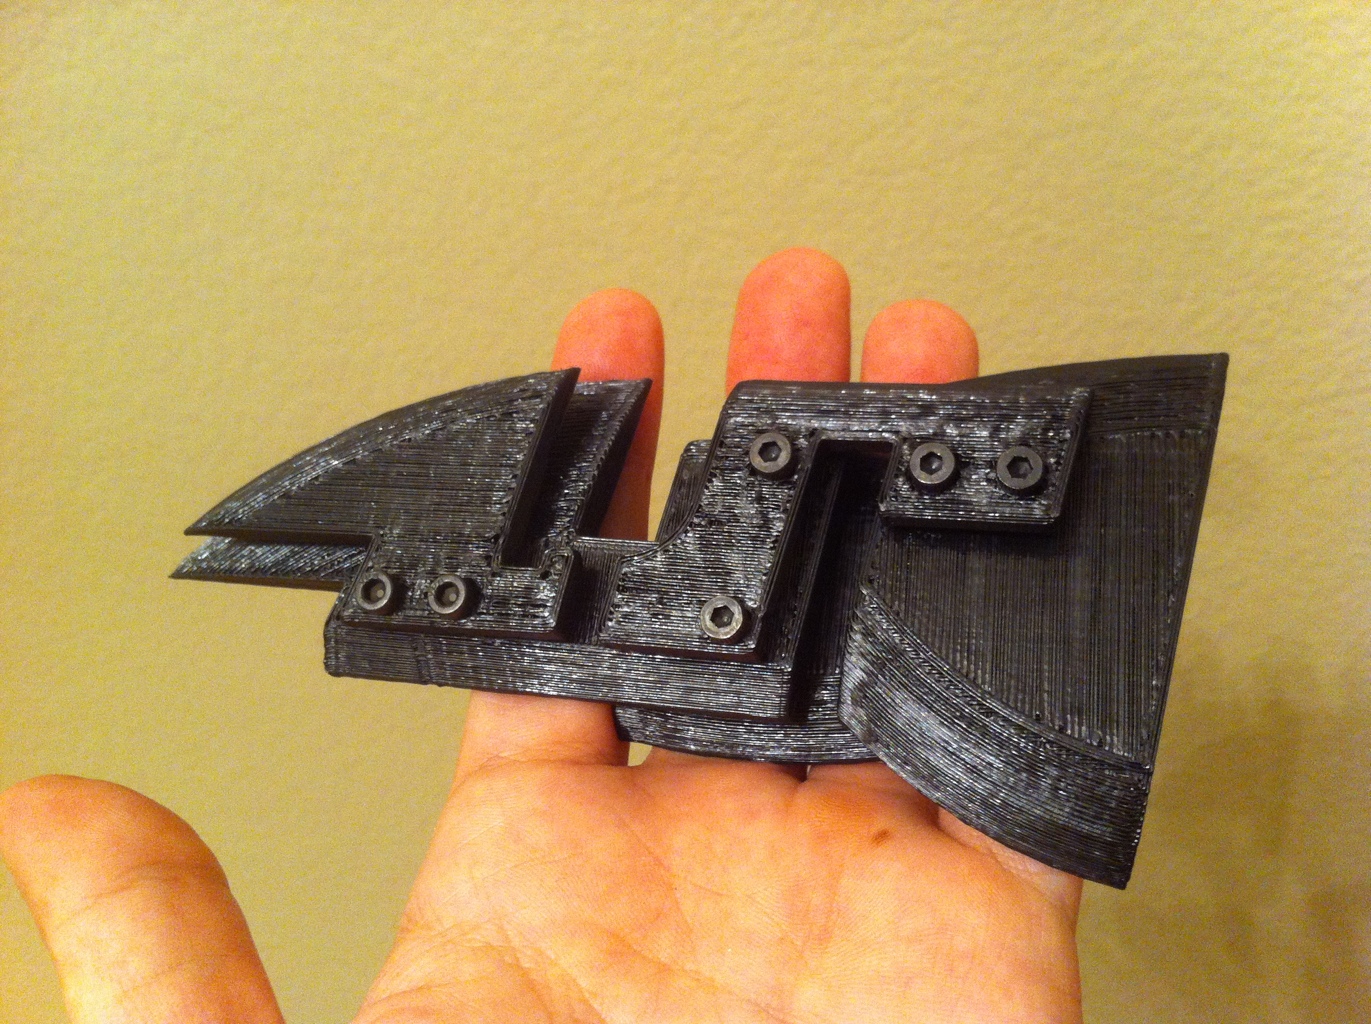
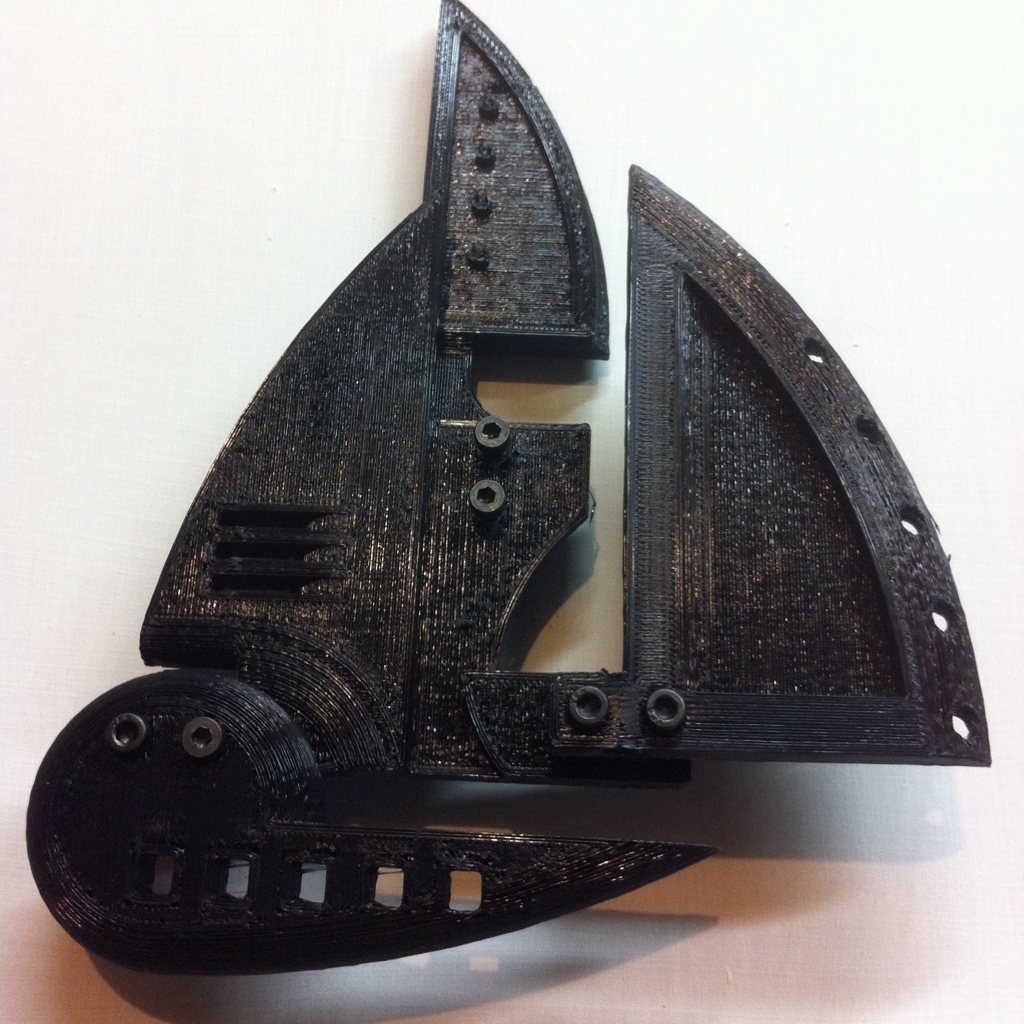
this is the piece of art I donated for the 2012 Art auction for works/san jose. it is 24″x12″ acrylic on hardboard with 3d printed polylactic acid.
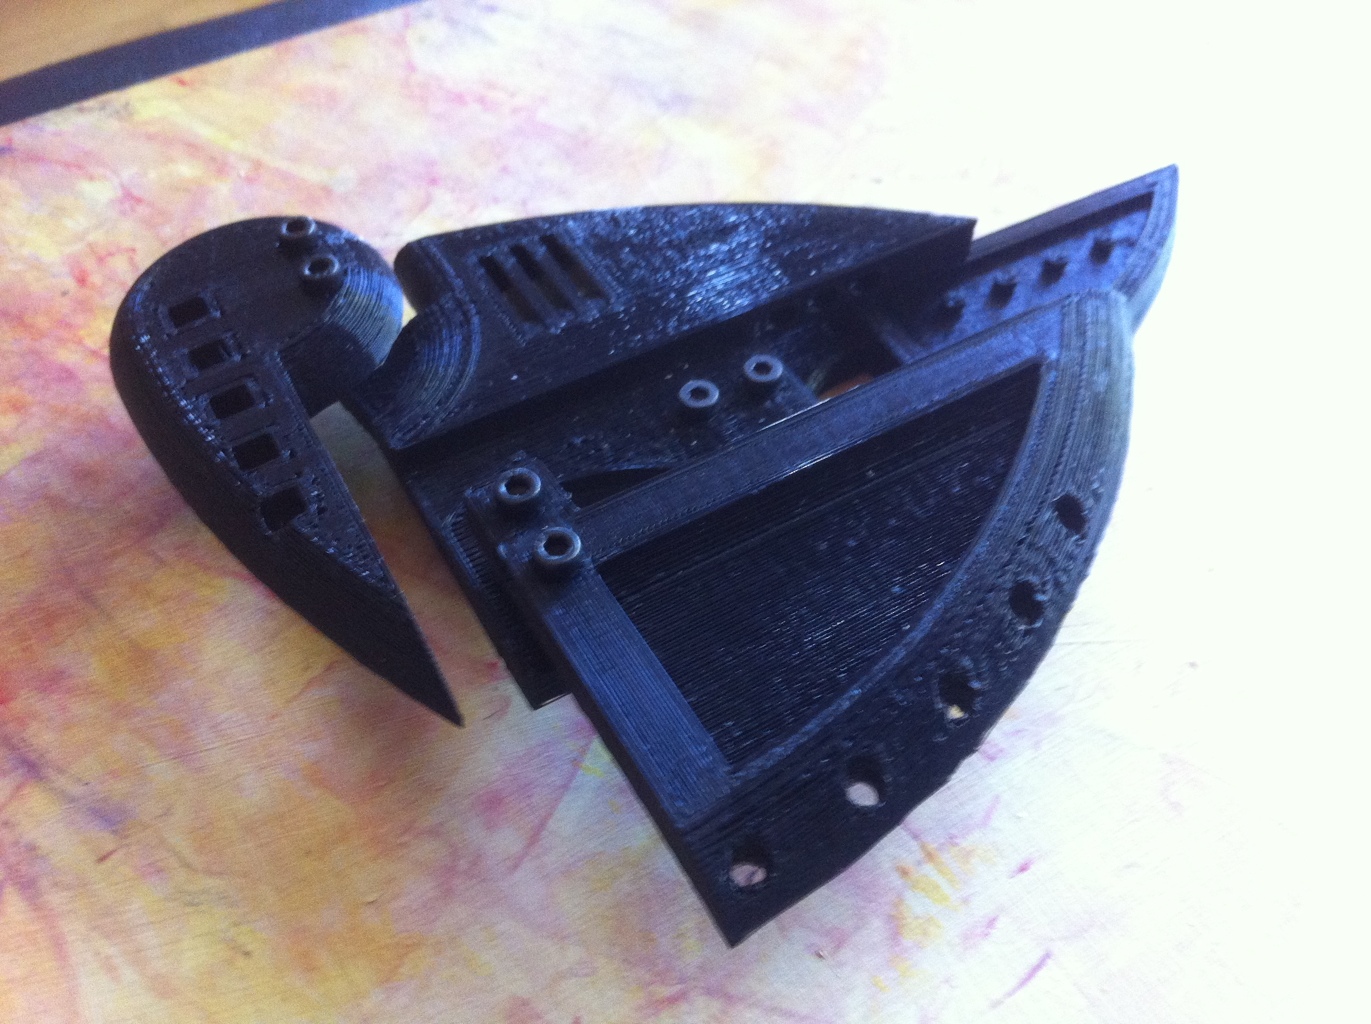
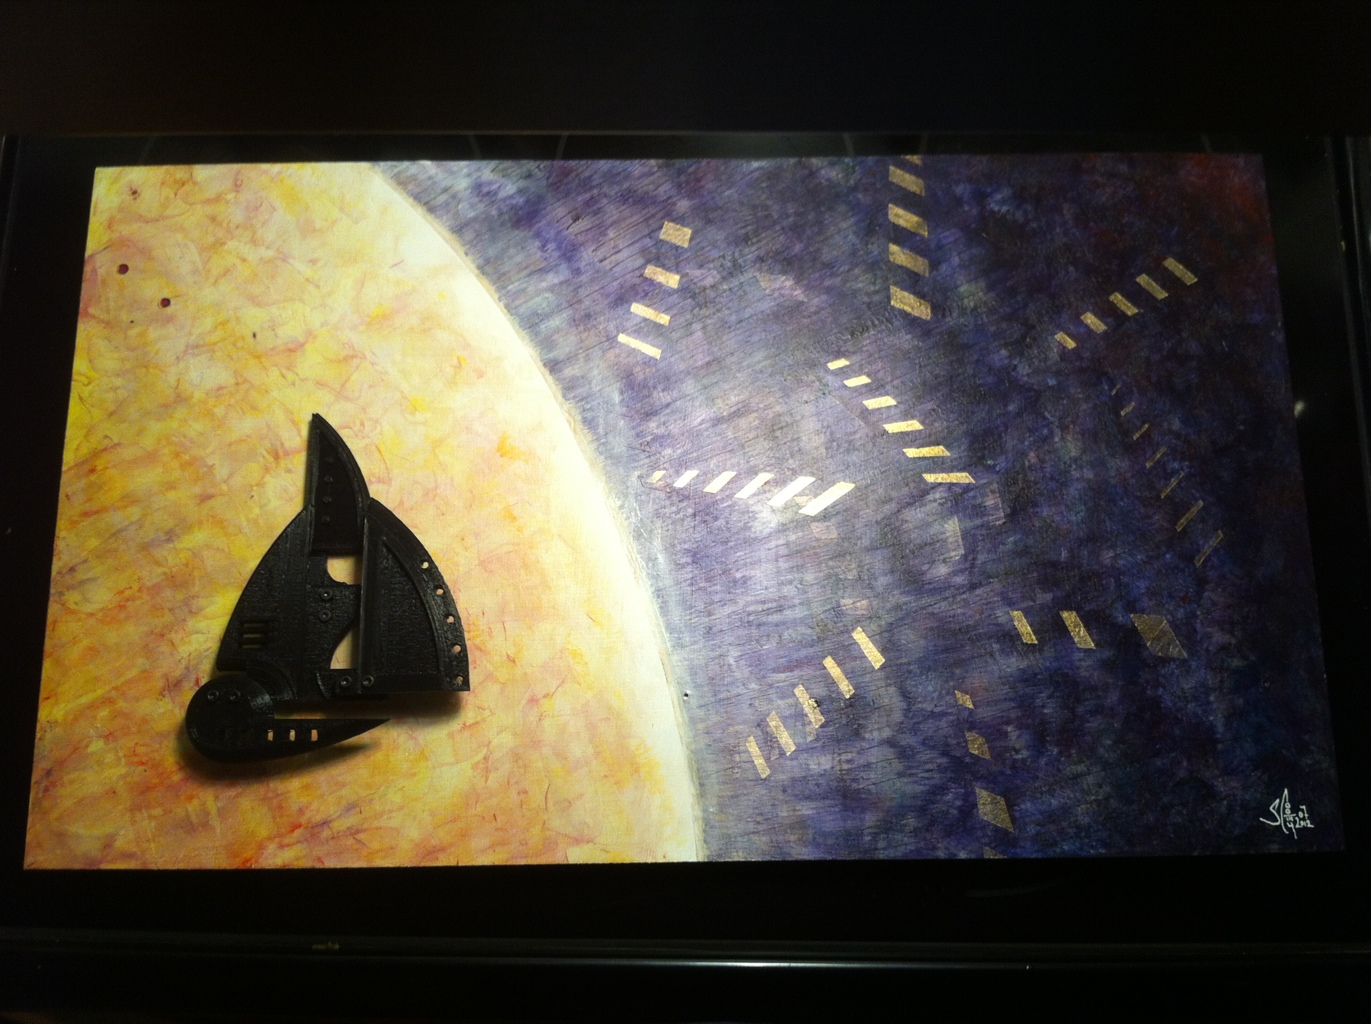
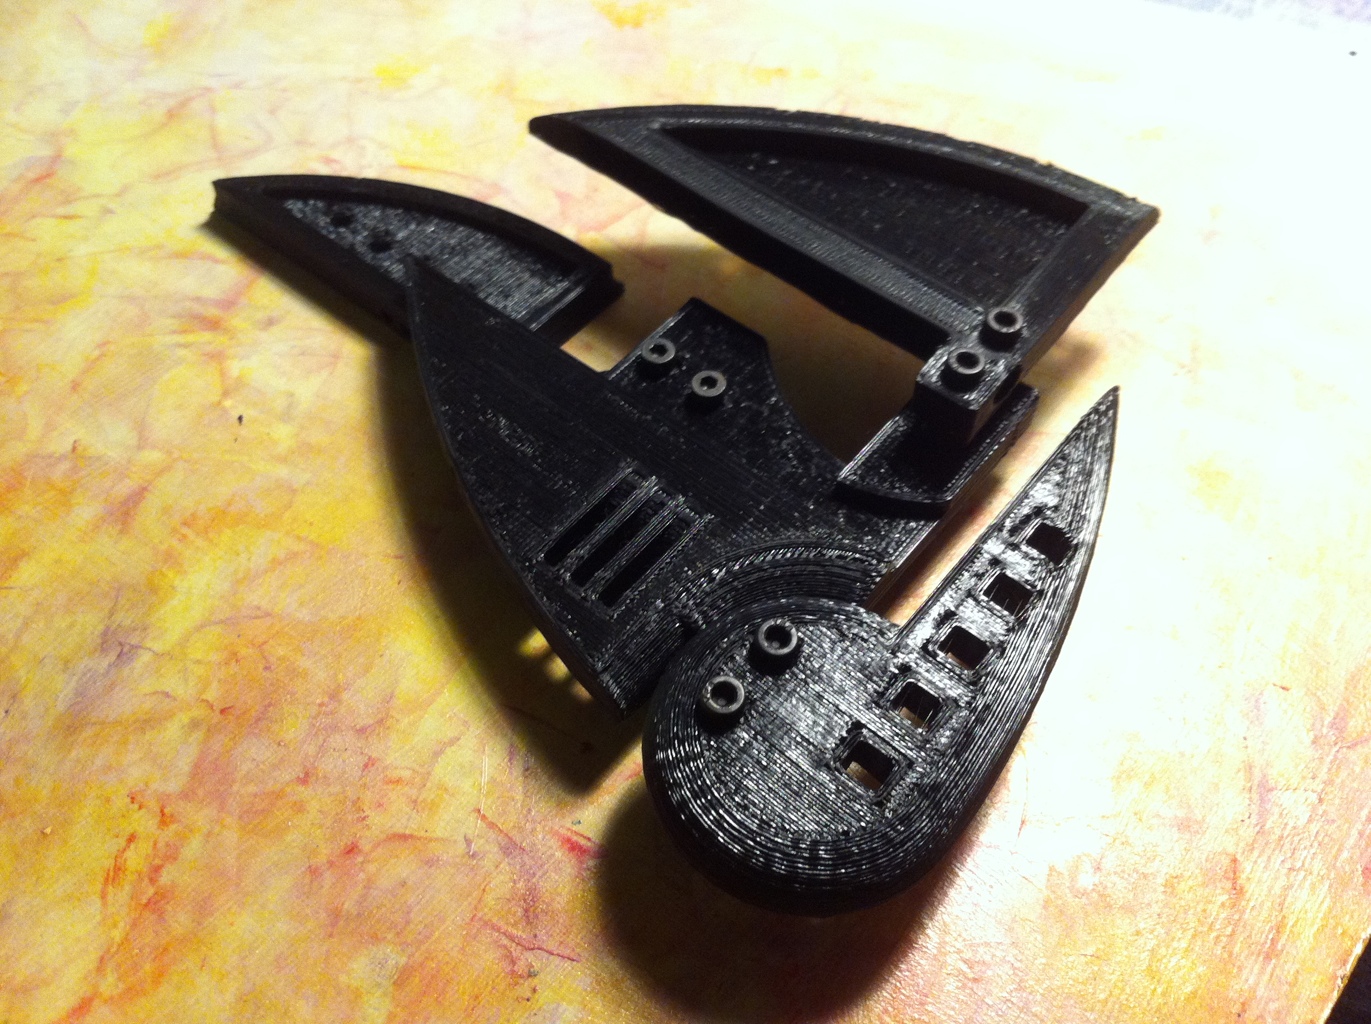
3d printed artwork
Lest you think I’ve been languishing in some kind of artless state, Here are some photos of what I’ve been using my 3d printer for on the fine art front. My machine is stable, I understand how to fix it when it stops working, and I’m now using some software that’s letting me really scratch the surface of what I can do to use the 3d printers best traits, versus a laser cutter or cnc router. Pretty cool stuff. More to come.


an OpenSCAD script for 3d printing potentiometer knobs
I learned some OpenSCAD!

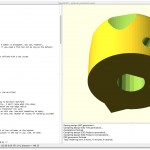
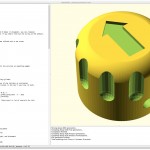
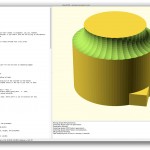
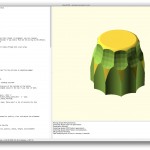
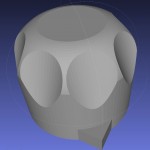
This script has a *lot* of variables you can tweak. I don’t even feel like I’ve put everything into this script that I want to, either.
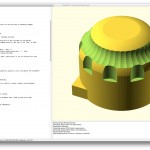
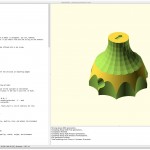
an incomplete list of parameters you can adjust:
- knob radius
- knob height
- shaft hole radius
- shaft hole height
- set screw inclusion, radius, and location
- flatness of shaft hole
- rounding on top (thanks very much to http://iheartrobotics.com for the articles on edge rounding!)
- indentations
- directional indicators
- plus a lot more!
About
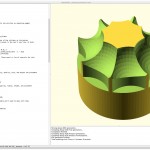
One of the most stressful things about making multiple copies of an electronics project is reliably locating interface controls that you like. Maybe you can locate them one time, but can you locate them a year from now? two years from now? And how much do they cost?
For example, I found some slide potentiometer knobs at Mouser.com for about $0.50 apiece two years ago, and they ran out of them… forever. I tried sourcing them elsewhere, and the best I could find was a seller that had them for $4.00 apiece (!!wtf!!). So that really sucks.
One strategy is to buy in bulk. But, buy too few and you may run out and pay twice for shipping. Buy too many and you end up with unused knobs sitting around not making your money back. That also sucks.
Round potentiometer knobs are somewhat readily available. But still, they can be from $0.80 to $5.00 each, and if you can’t find enough for your project, that can be problematic. Mostly I’m tired of paying multiple dollars for things that should basically cost $0.25 apiece. Aesthetics are important too, so having options beyond what’s out there is nice.
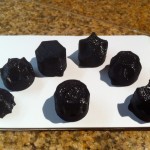
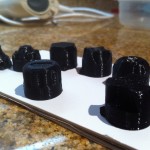
A different strategy is to print them yourself as you need them. No shipping, no running out, and you get to call the shots on how it looks and how it fits. Now, I like this way. Plus, for my project, making the knobs just goes along with the rest of the stuff I’ve done myself.

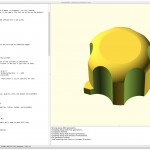
Well… some are better than others. Limited success is better than no success at all.
Download
Click here to download the parametric potentiometer knob generator OpenSCAD script.
License

parametric potentiometer knob generator by steve cooley is licensed under a Creative Commons Attribution-NonCommercial-ShareAlike 3.0 Unported License.
Based on a work at sc-fa.com.
Permissions beyond the scope of this license may be available at https://sc-fa.com/blog/contact.
makerbot thing-o-matic y axis drift video
My makerbot thing-o-matic has a problem with a drifting y axis, but only when a layer is complete. There’s lots of vague advice about how tight or loose the timing belt should be, but I’ve tried a dozen different tension guesses, and nothing seems to work without shifting the print mid-way through.
edit 2012-02-01 : my voltages were set to the makerbot motors, where the should have been set to the moons motor voltages. :-