An ever-updating ongoing ultra-rant that ruled from the center of my ultraworld, for an art project
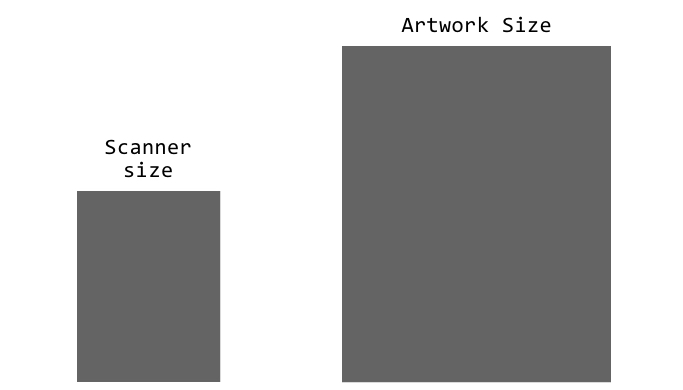
I made a problem for myself. I painted some paintings on paper that was too big to scan with my Epson V39 desktop scanner.
I needed high resolution images so I could check out Print On Demand options. I had a lot of ideas about how I might solve my problem.
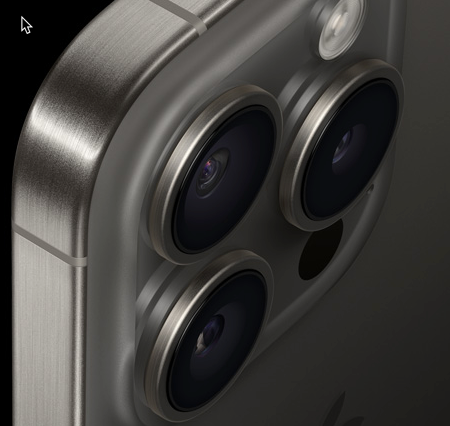
I tried taking photos with my 12MP camera on my phone, and the images are OK, but not great. Certainly not great for larger reproduction prints!
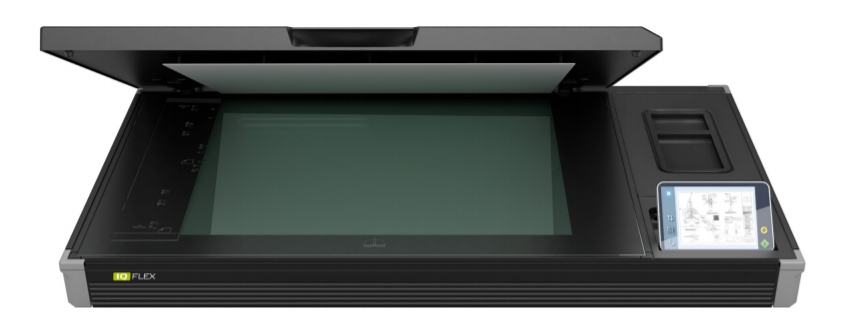
Large format scanners are available, but the costs start at around $300 for a slightly better resolution ~27MP camera-based rig which is designed to shoot images of books.
Next up from there would be to prematurely replace my phone for a newer phone with the current state of the art camera, for $1000.
Better still would be an A2 sized flatbed scanner, much like my Epson, but large enough to capture my 16″x20″ watercolor paper paintings all in one shot, but at a ~$3,000 cost.
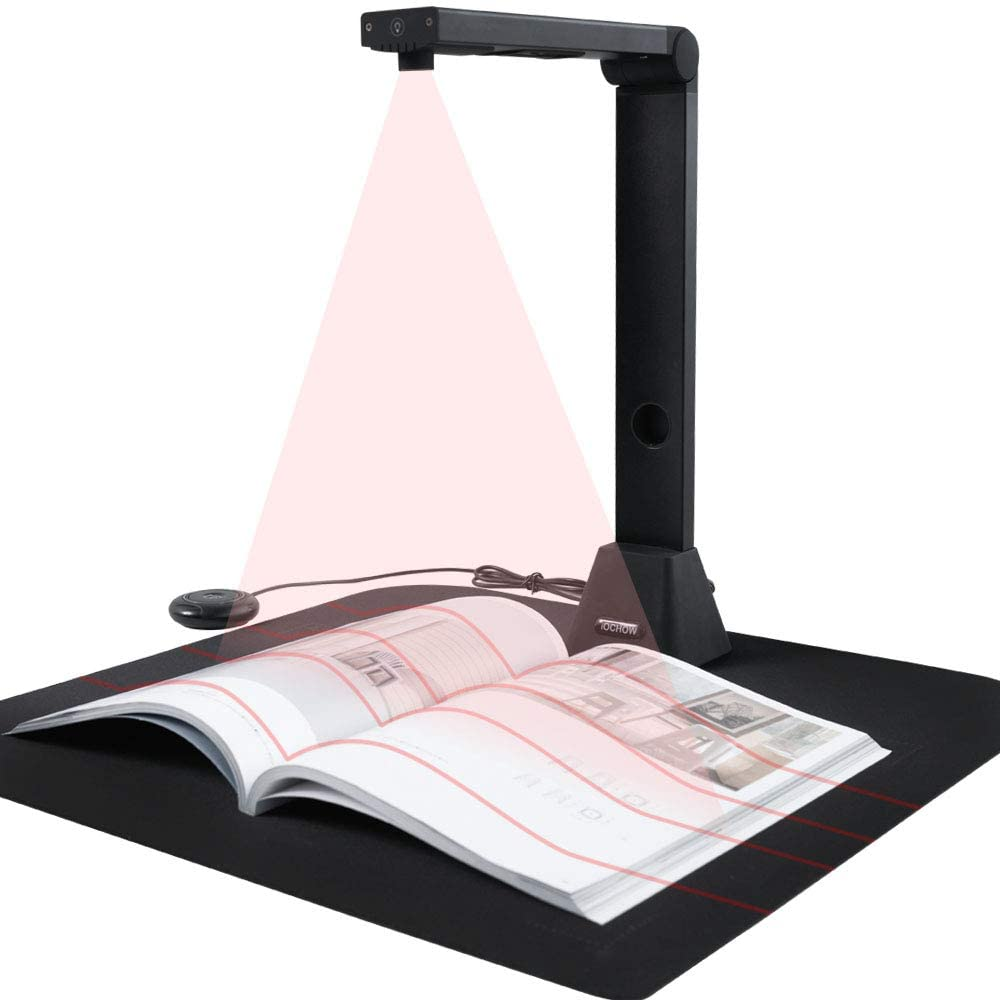
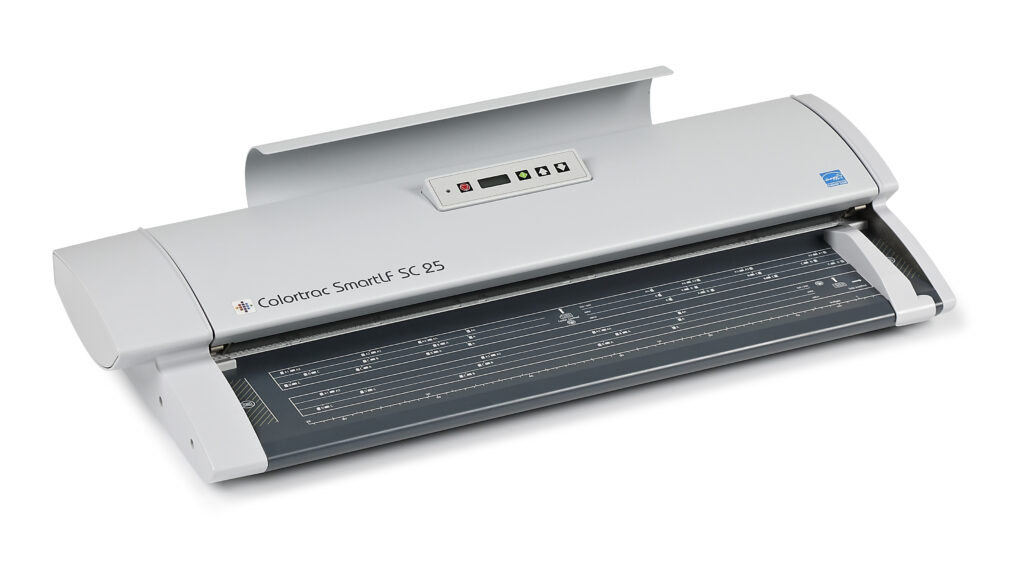
And the last option I considered in the “buy” category was a large format scanner like how blueprints are scanned to create digital versions. A wide rectangle looking box that automatically feeds the sheet to be scanned across the optics, for a cost that start at $6,000, and goes up, a lot more.
Fine art photography businesses exist near where I live, but the costs were around $100, per painting, so for my initial set of Pajaro Iterations, that would already be $1400, yikes. That’s a very steep price for my very modest needs. Sure there are some cheaper options, but even at $60 apiece, that would still be … probably more than I’d prefer to spend. And if I’d gone down this route, I wouldn’t have any control, or do-overs. Money would be spent and that would be the end.
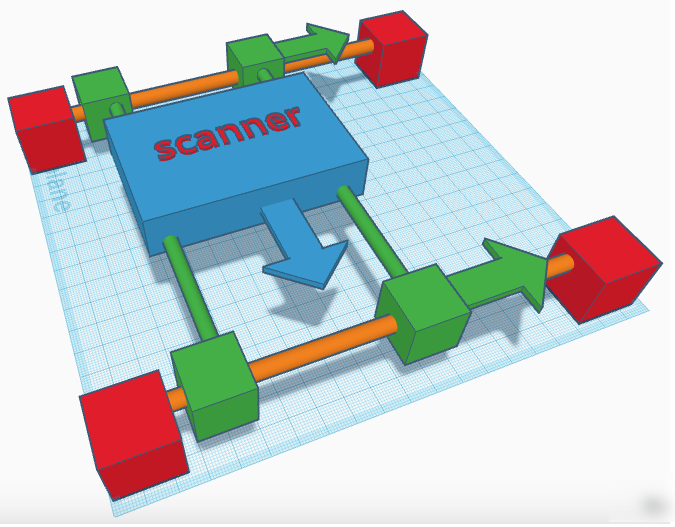
A custom CNC solution would cost a lot less than $1,000 but the time it would take would be considerable… and I don’t really have that time to devote to it. It’s an interesting idea still, and I may return to it at some point in the future.
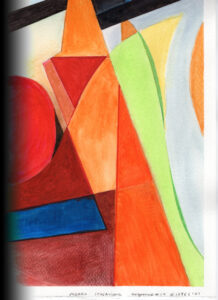
What I did end up doing was some test scans with my existing Epson V39 scanner, which can capture up to 9″x12″ at 1200 DPI. I took one of my Pajaro Iterations paintings and scanned it in four pieces. Capturing 1/4 of the painting each time, which some considerable overlap in each. Each scan took 9 minutes, so that was putting total scan time north of 36 minutes, assuming every scan was perfect the first time.
One show-stopping problem: the plastic bezel around the scanner glass is raised, causing the artwork to not side flat against the glass, and a shadow shows up at the edge.
I wondered how I could get the scans to be totally flat to the glass.
I tried adding a clear sheet of polycarbonate on top of the glass. It offset where the paper sits, and that changed the focal length of the scan, so it was blurry. That’s no good.

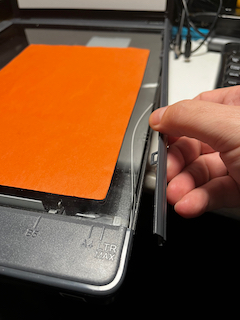
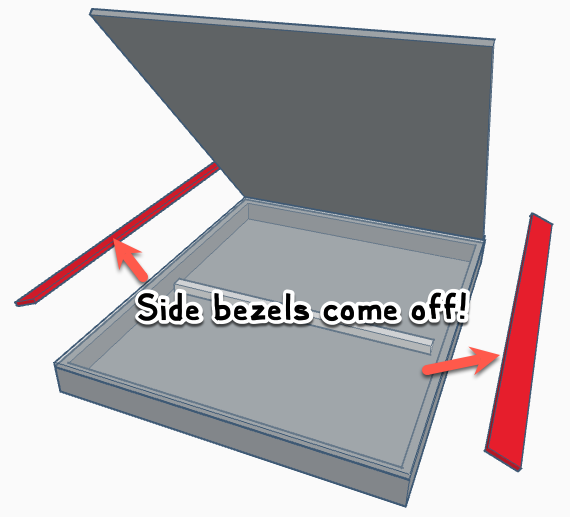
So what about removing the bezel? Well it turns out the Epson V39 assembles its bezel in pieces, and while the top and bottom bezel pieces are mission critical to the function of the scanning mechanism, the sides are not. So I watched the first three minutes of an extremely helpful youtube video, and was able to get the two side bezel pieces removed.
New scans are now coming out absolutely flat on three of the four sides, and that was a huge improvement! And the file sizes are excellent!
How to scan the whole piece:
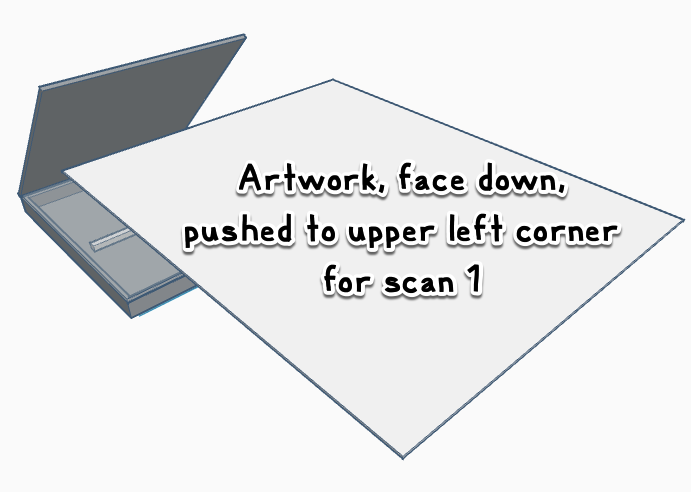
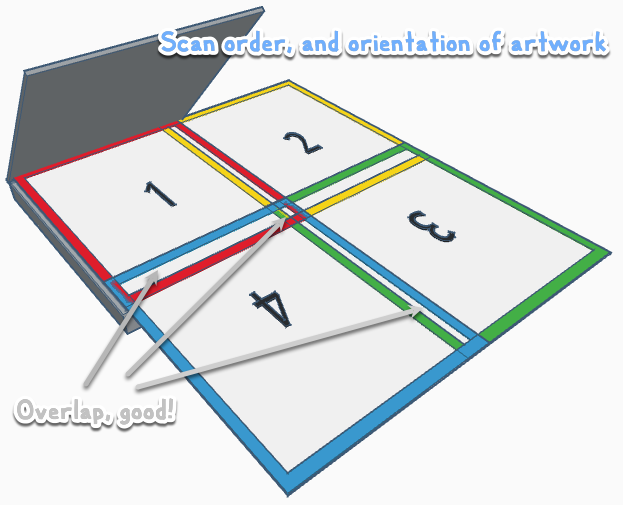
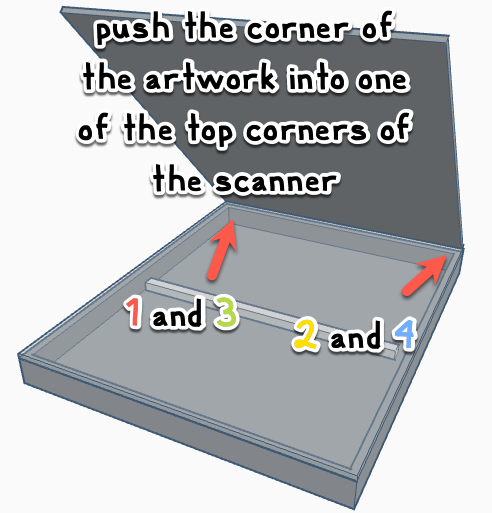
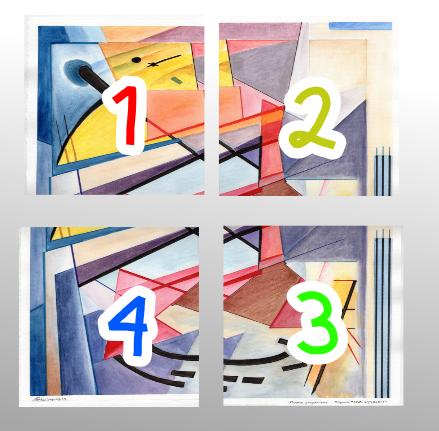
Scanning the artwork in 4 pieces, and rotating scans 3 and 4 ends up with four files like this:
So now on to the task of assembling the photos into one image.
I’ve had very good success with the Affinity line of desktop graphics applications for the Mac. I used Affinity Publisher to construct my Cats, Abstracts, and Space Ships Vol. 1 book. I also used Affinity Designer for some vector graphics tasks to great success.

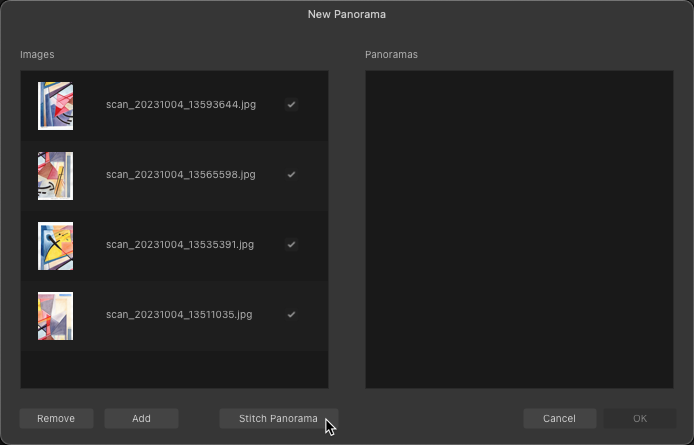
I wondered if Affinity Photo 2 could handle the job, so I downloaded it. 30 day free trial, sweet!
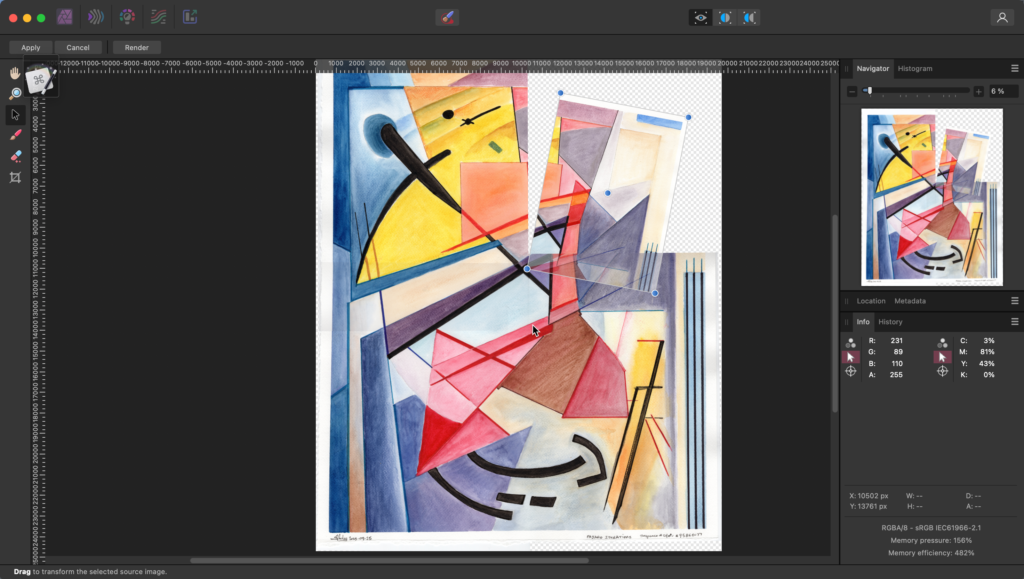
This app has a feature that ended up working GREAT for me: automatic panoramic photo stitching!
Once I told it which photos are in the panorama,
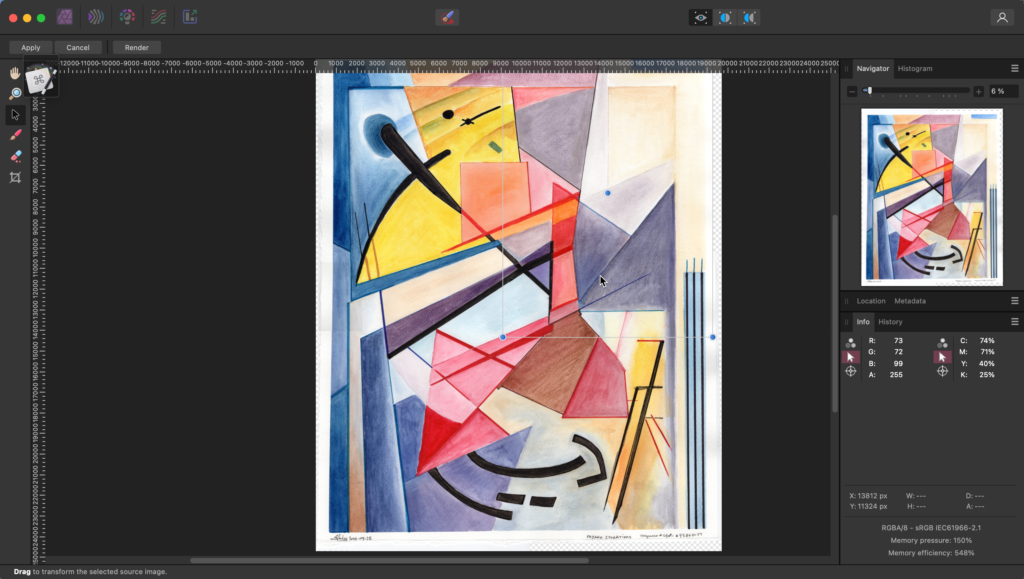
it was able to handle the overlap perfectly,
and even managed the layer fading so that the final images were nearly perfect.
Here are some close ups to see detail. There’s really nothing to see as far as looking at the seams? I couldn’t tell where the overlaps were! ¯\_(ツ)_/¯
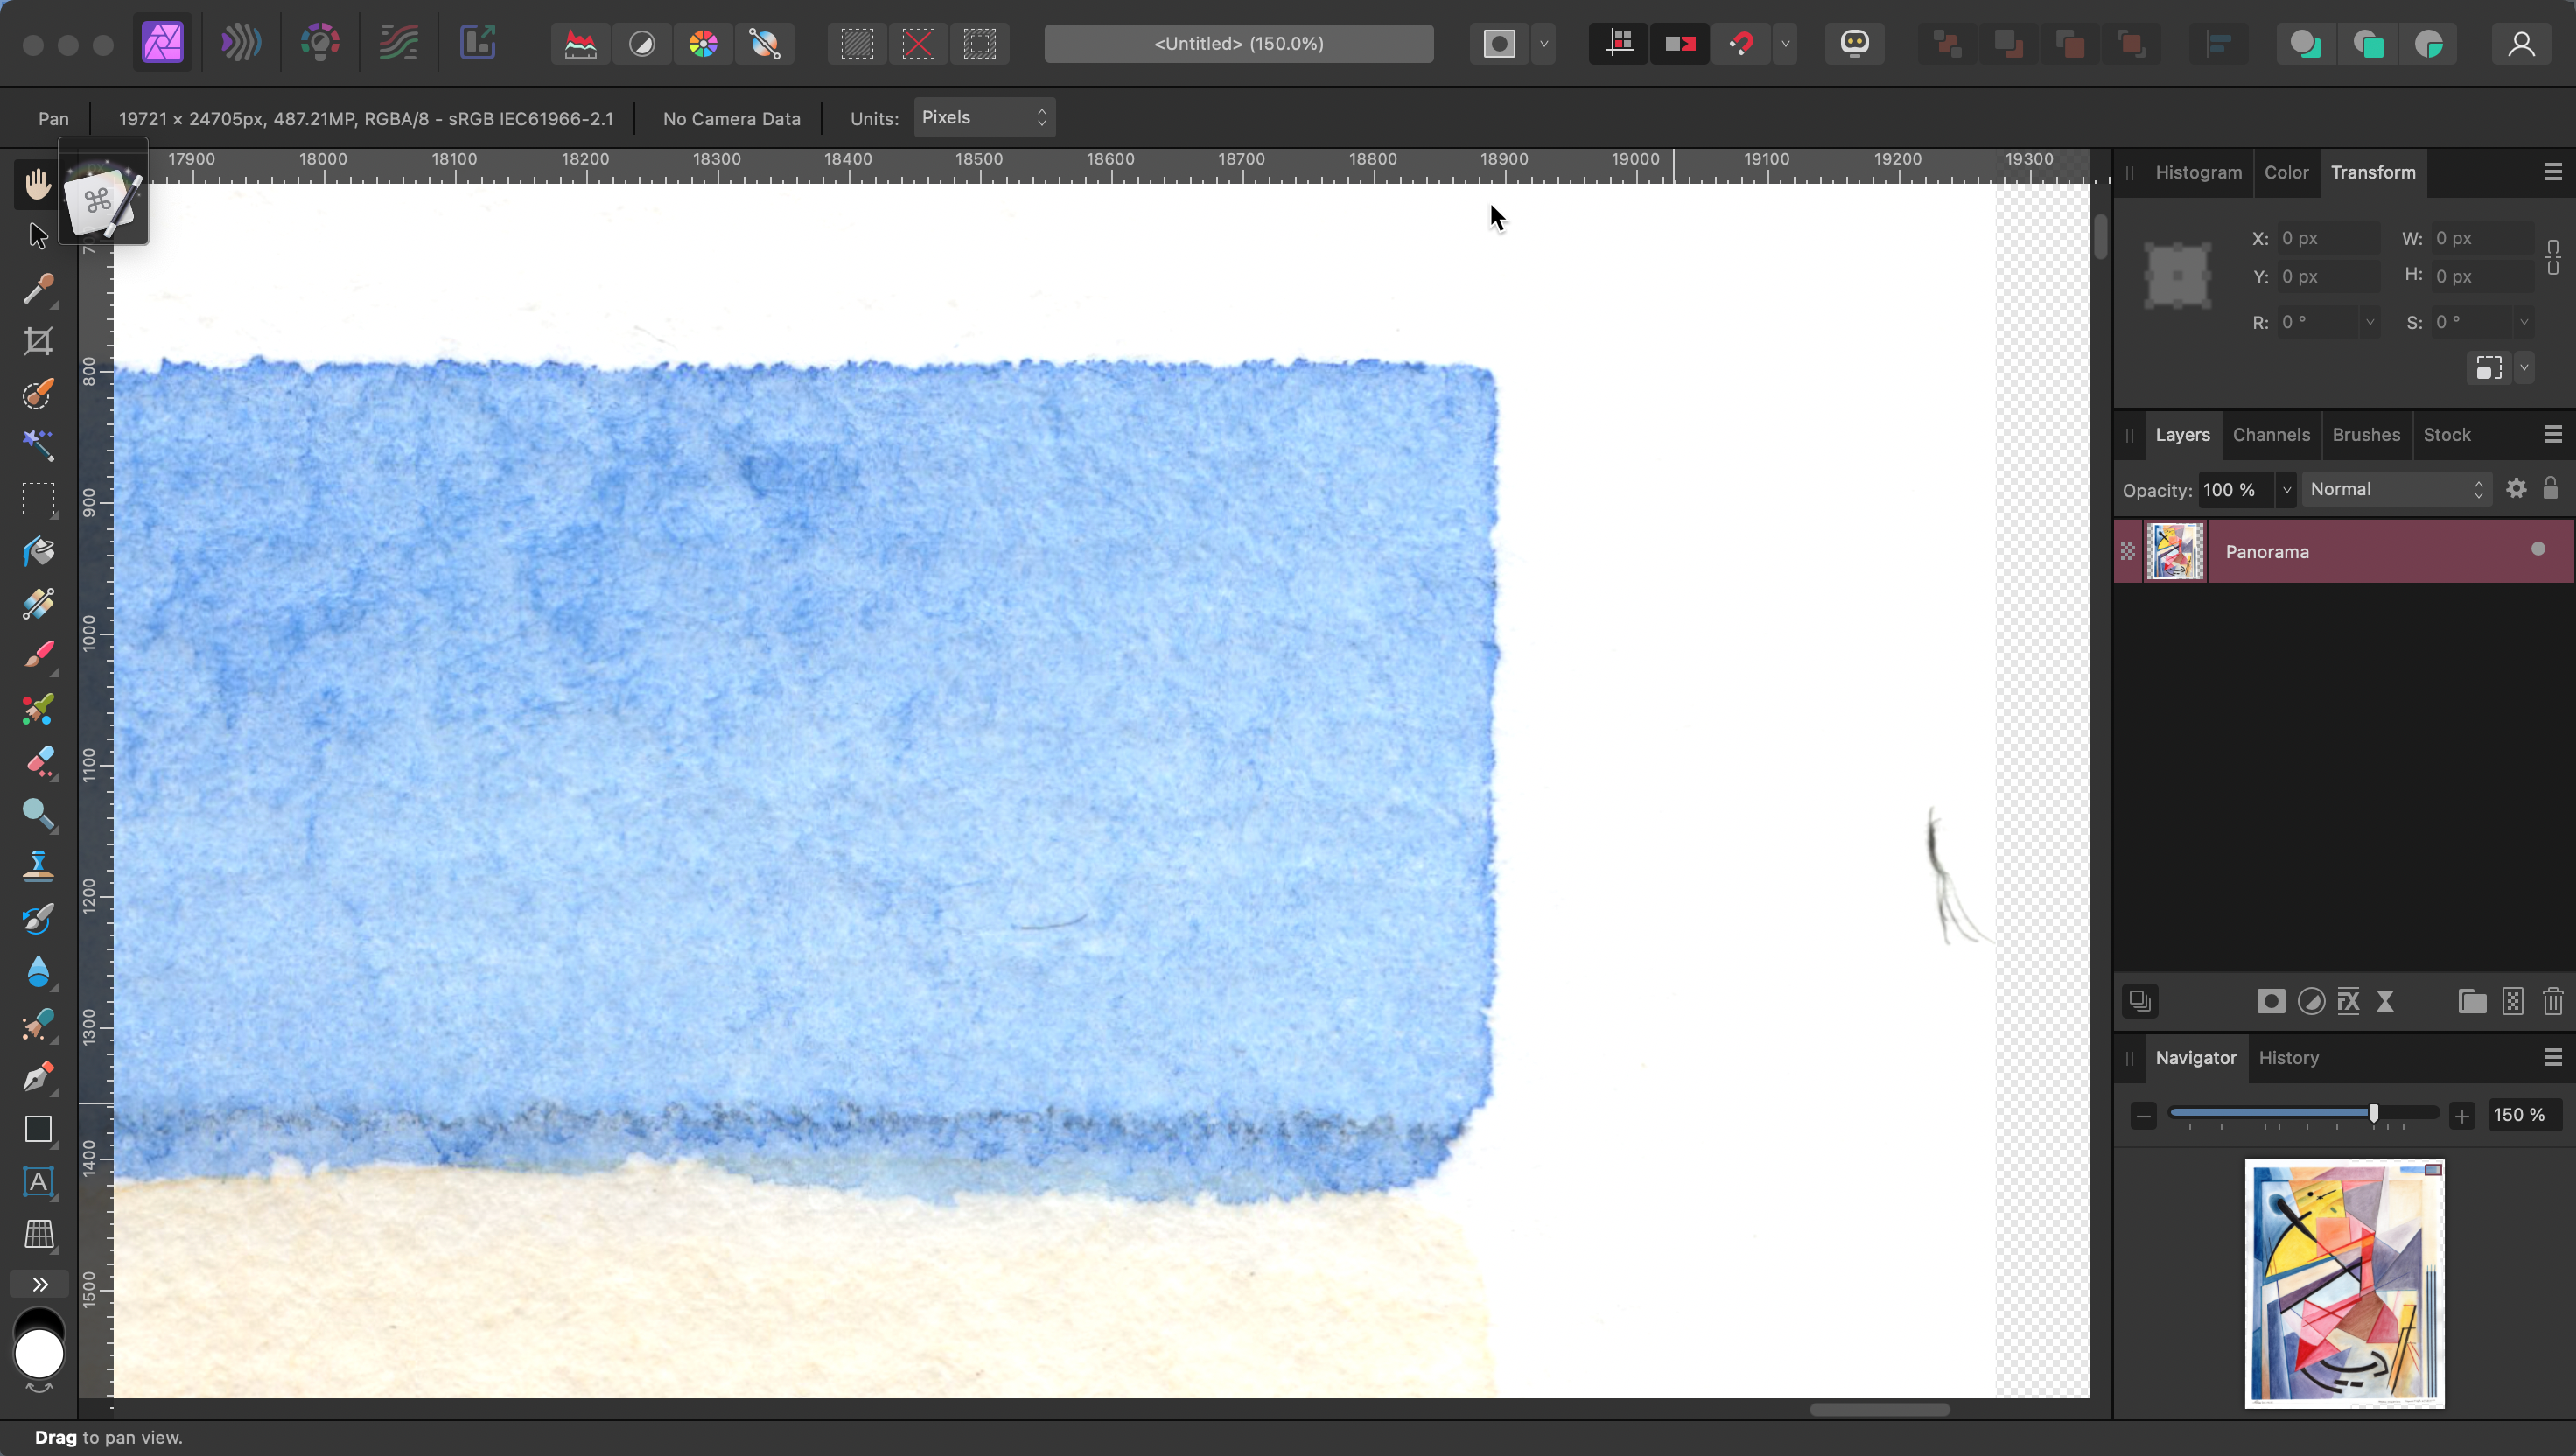
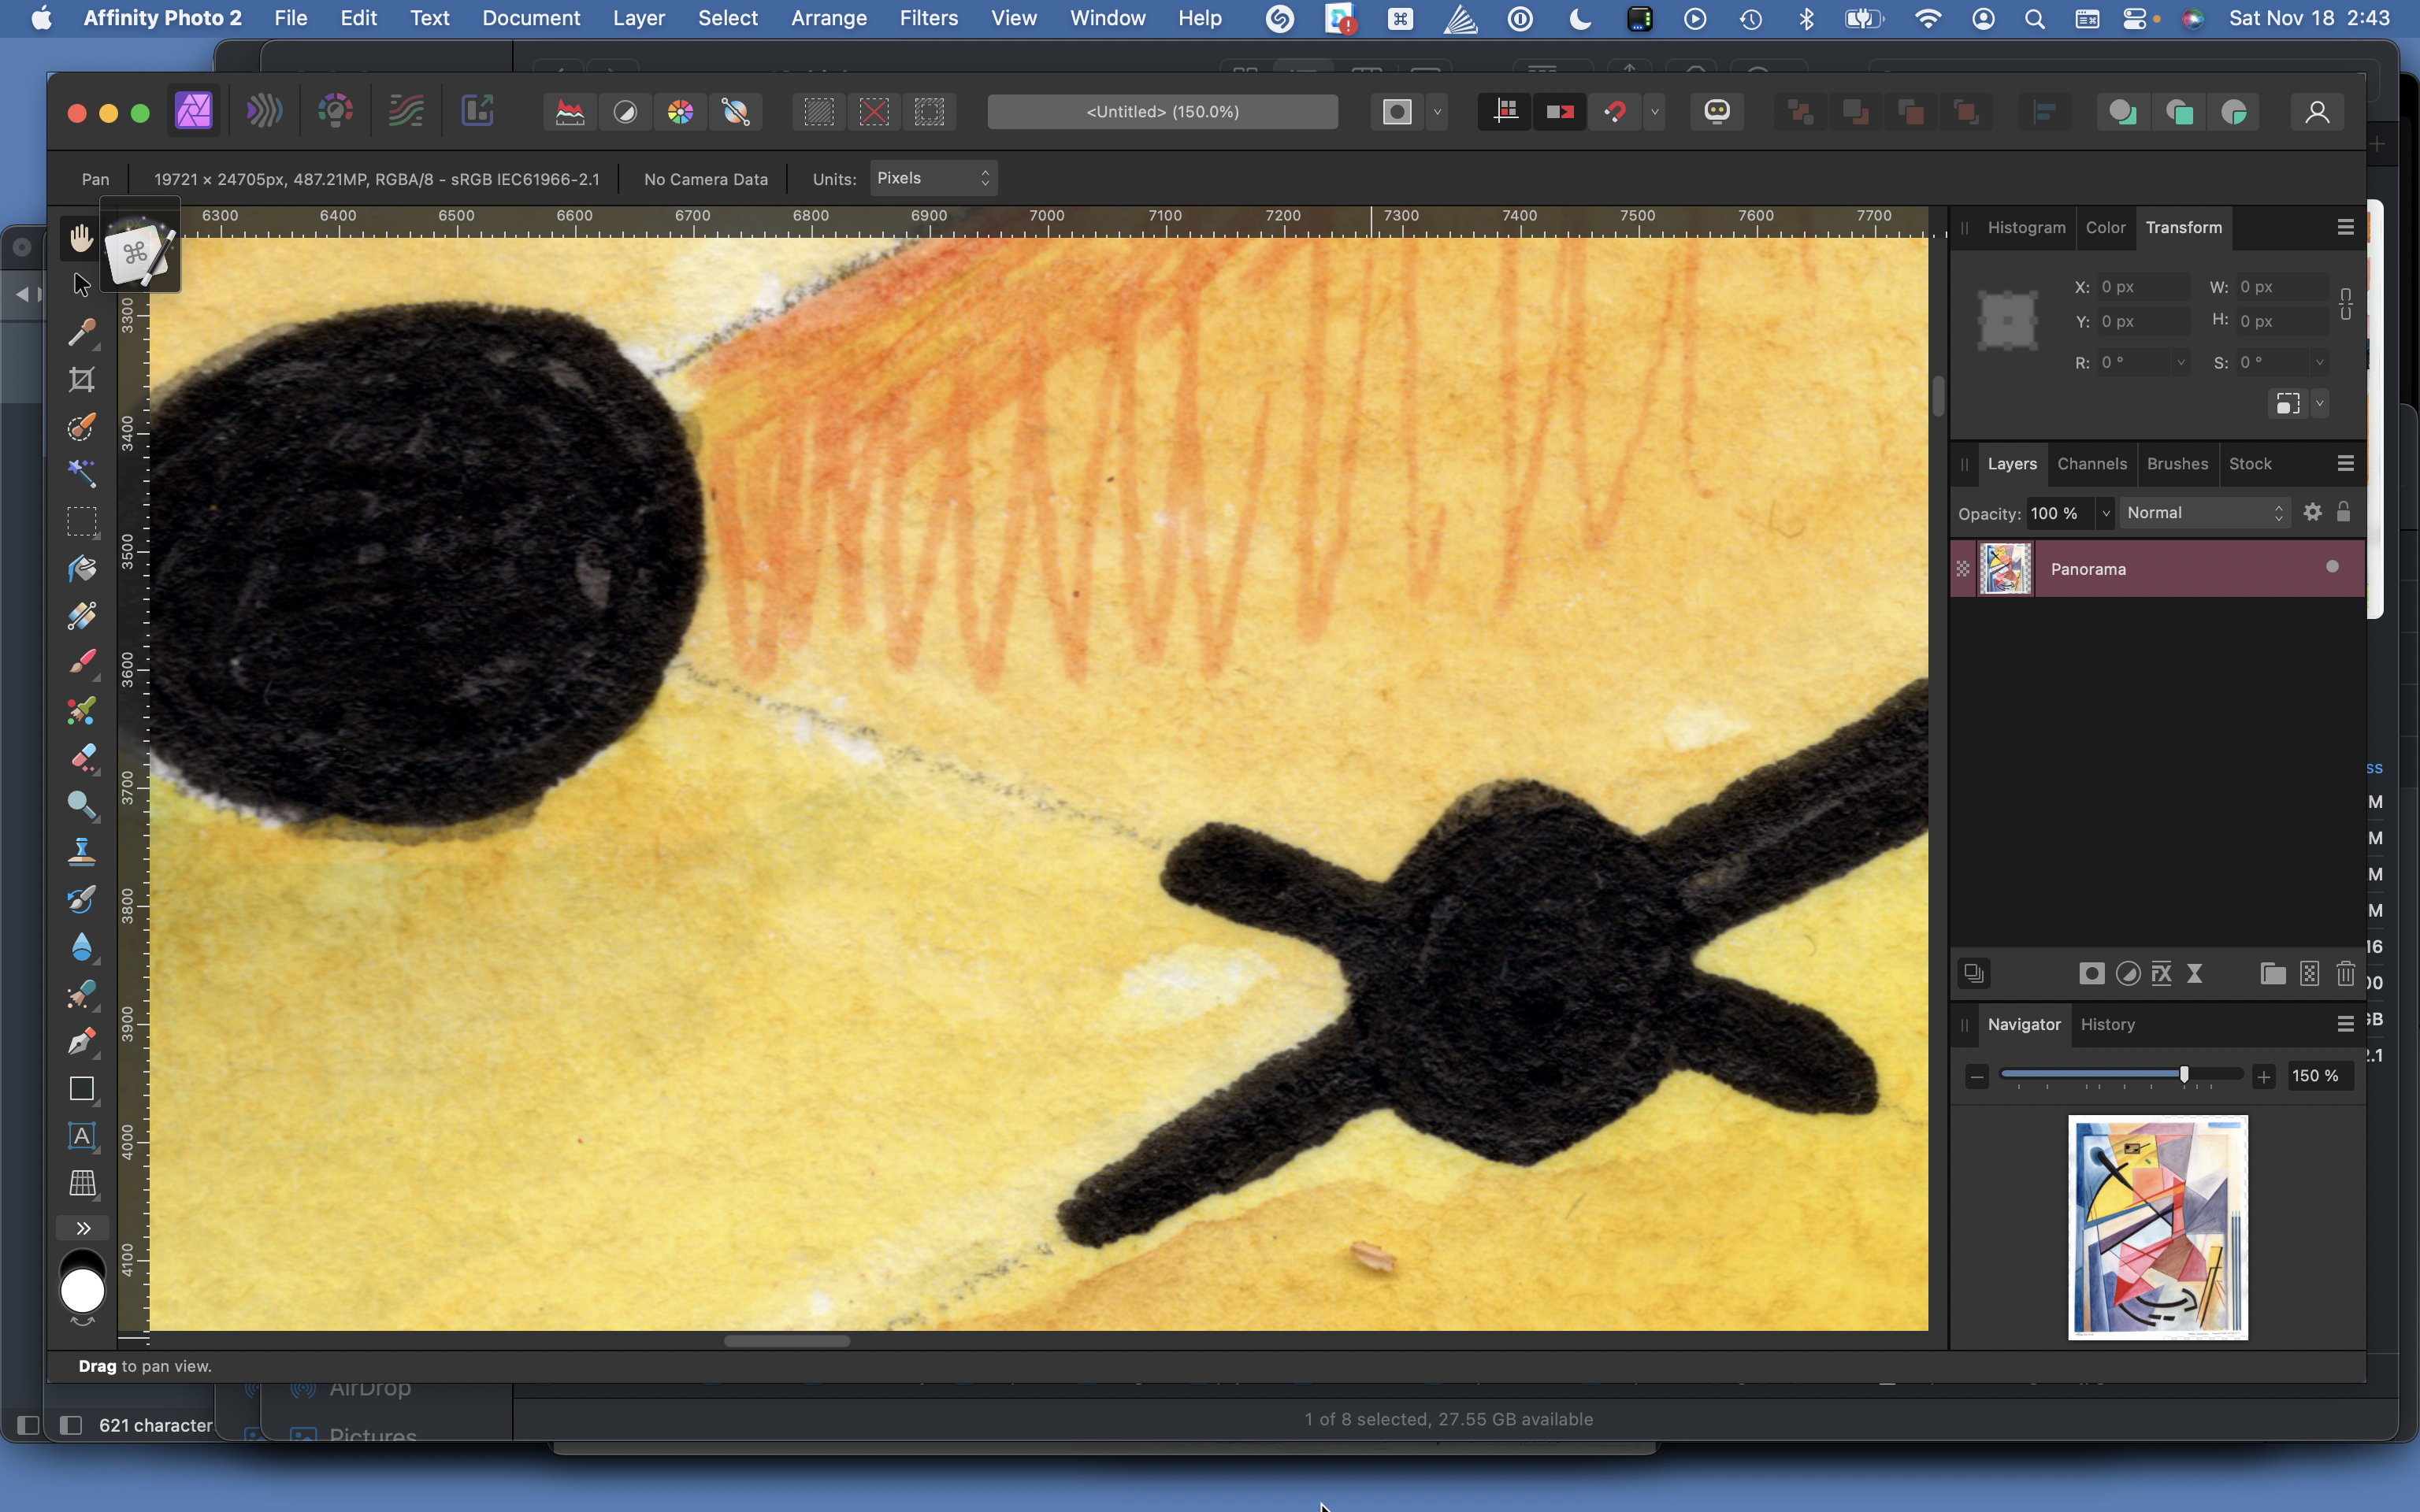
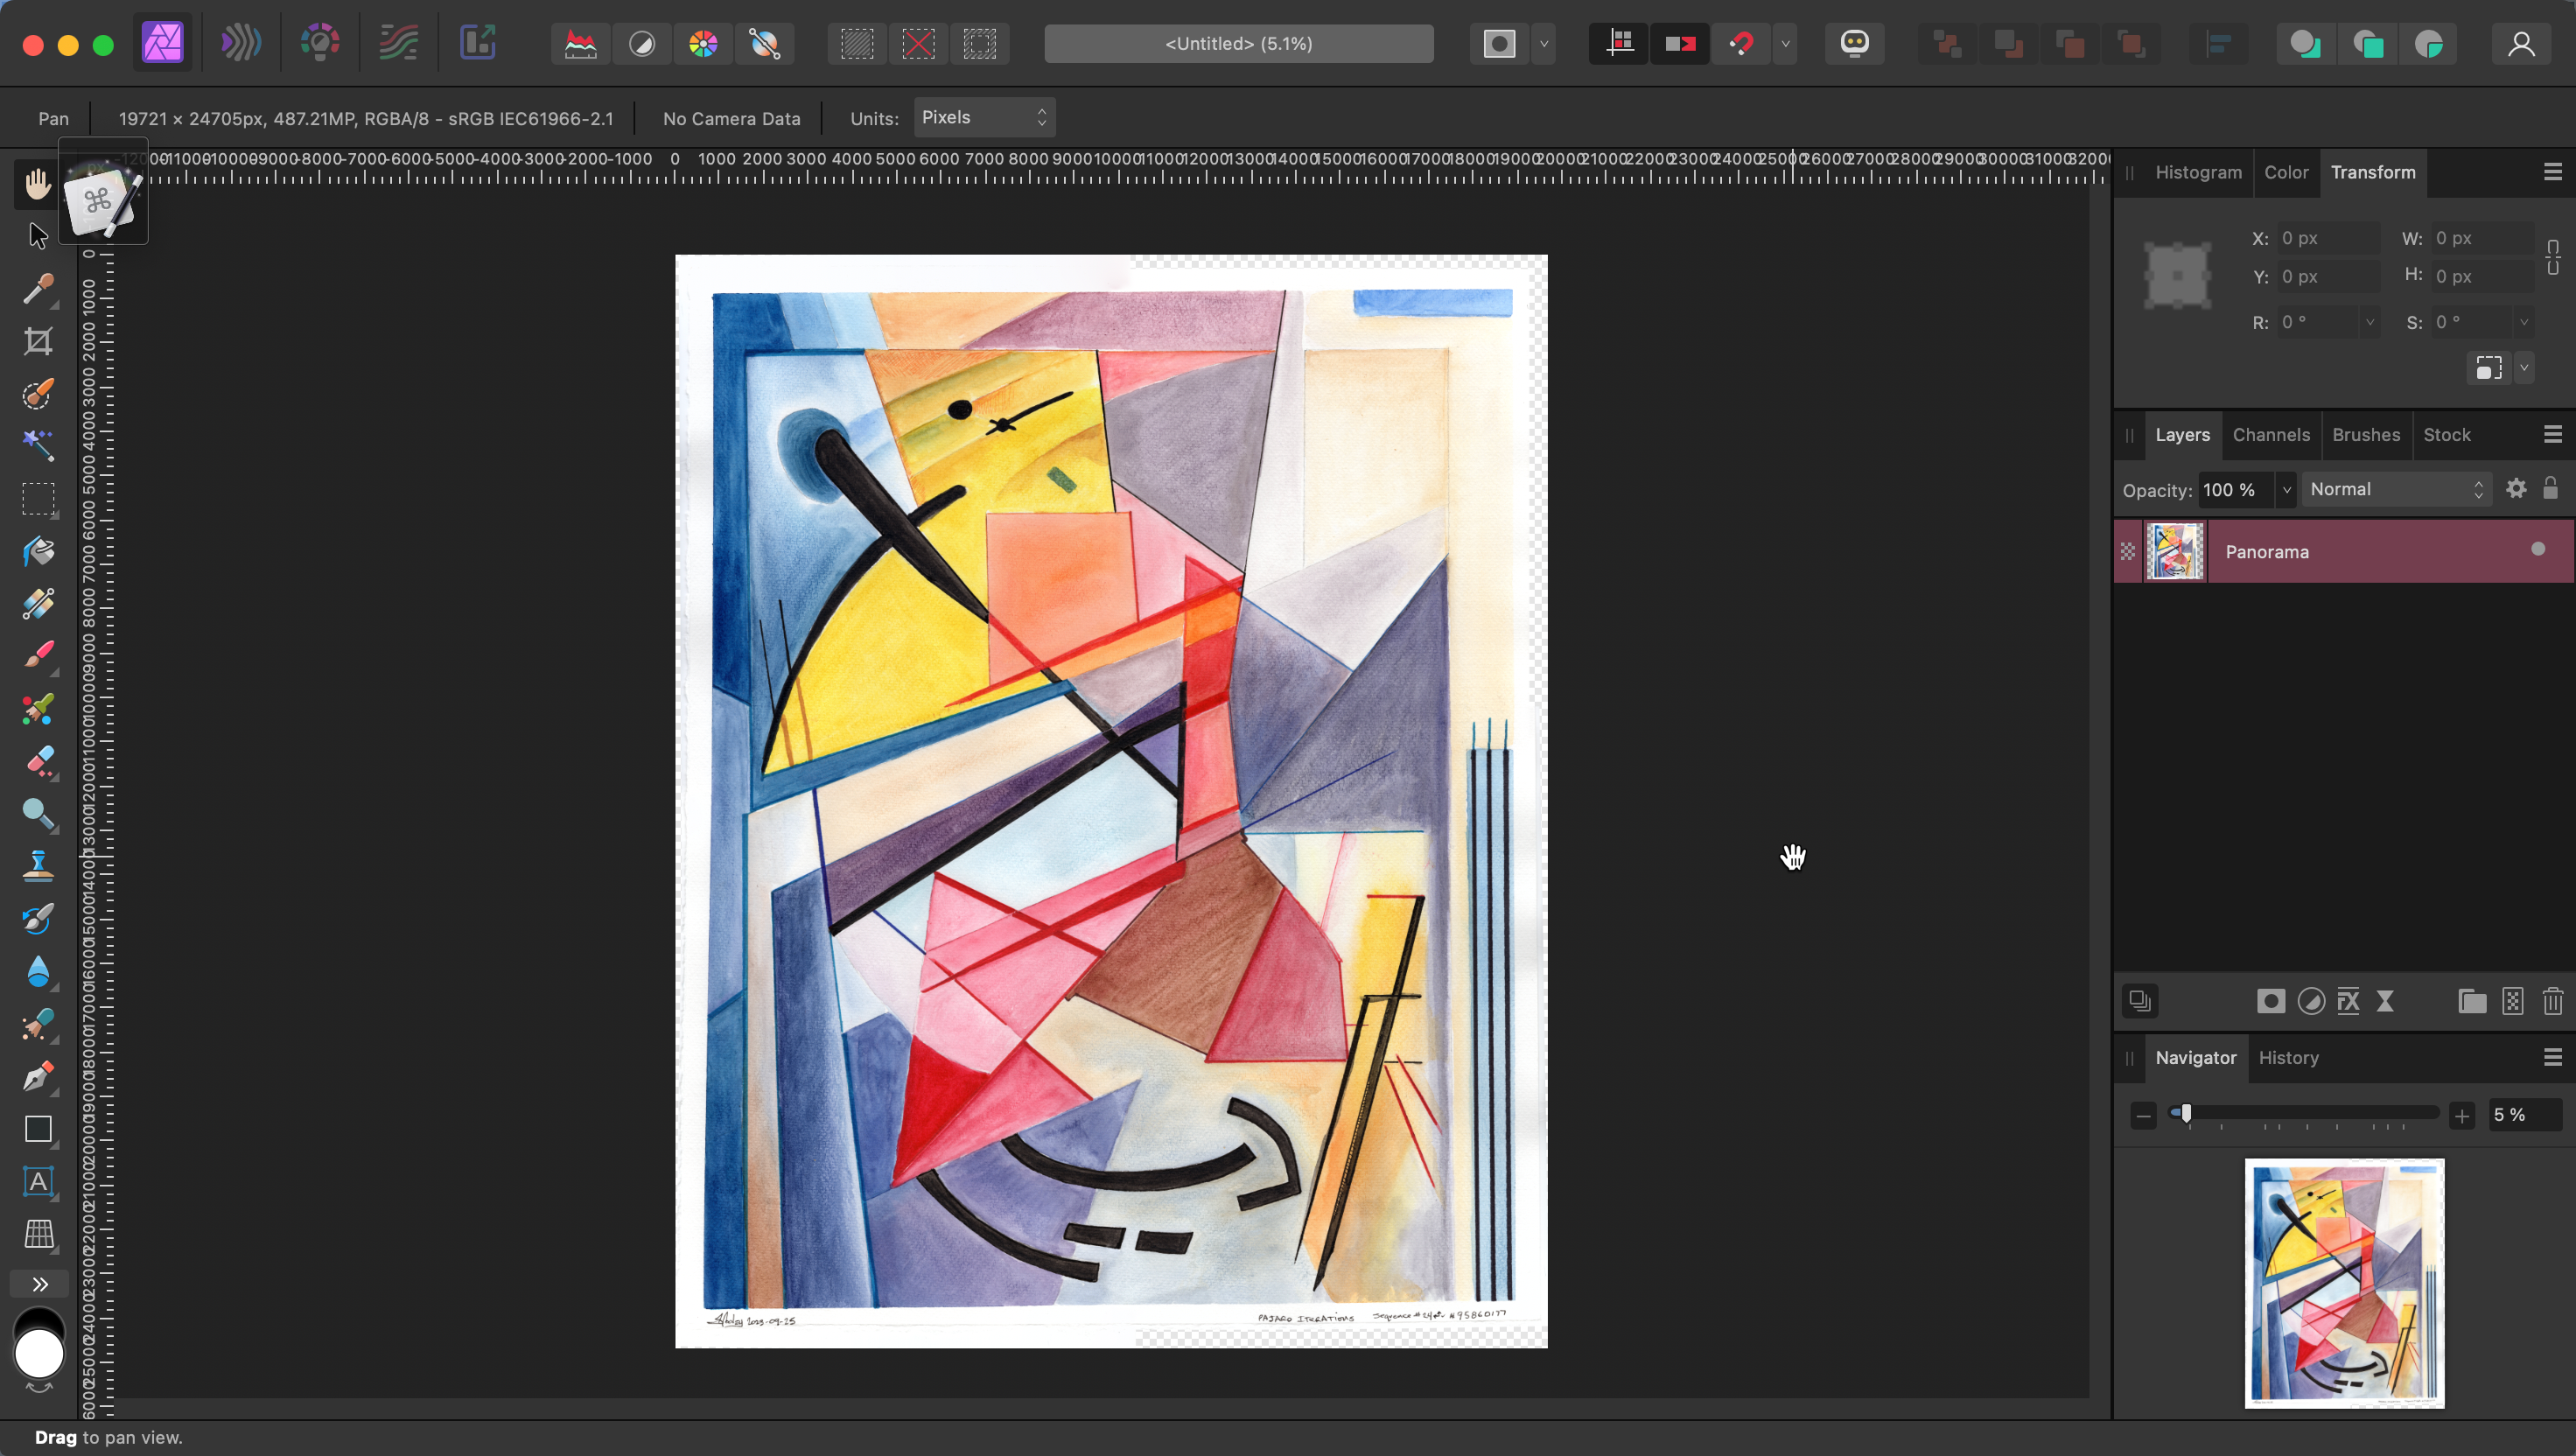
Amazing!! It did a nearly perfect job and I only cleaned up the cropping at the end.
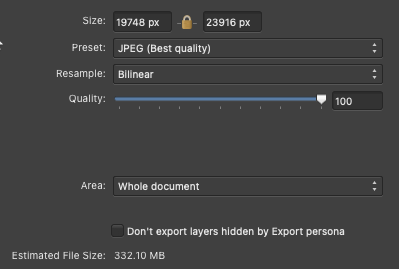
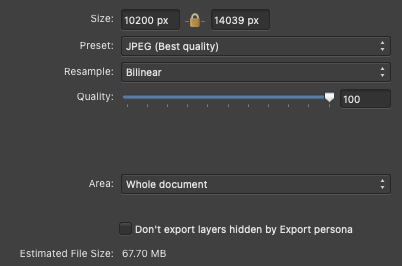
And the best part? I got nearly 16″ x 20″ images at 1200 DPI… almost 20,000 x 24,000 pixels!! >300MB files. That’s an epic outcome, and i didn’t have to spend thousands of dollars to get them!
It turns out most places can’t use files that large. Yet! These images can serve as the source reference for a long time.
Was it a lot of work? Yes. 🙂 14 paintings = 56 high res scans, with several re-scans to correct for bad alignment on my part, which did take an entire day and night of 100% focus, while simultaneously performing the stitching and cleanup operations, but I got it all done in one day, and I got it done for nearly free. They’re as good as an archival image as I could have imagined.
1 thought on “Desktop scanner modding”